Altenew Diecutting fun
Hi and welcome back to my blog!
Today’s cards are made with some yummy Altenew products and they are made with diecutting alone. NO stamping whatsoever! This technique is great for those times when you want something that catches the recipients eye AND fingers. The tactile feeling you get from adding die cuts to a panel is fab and really adds a little something to your card.

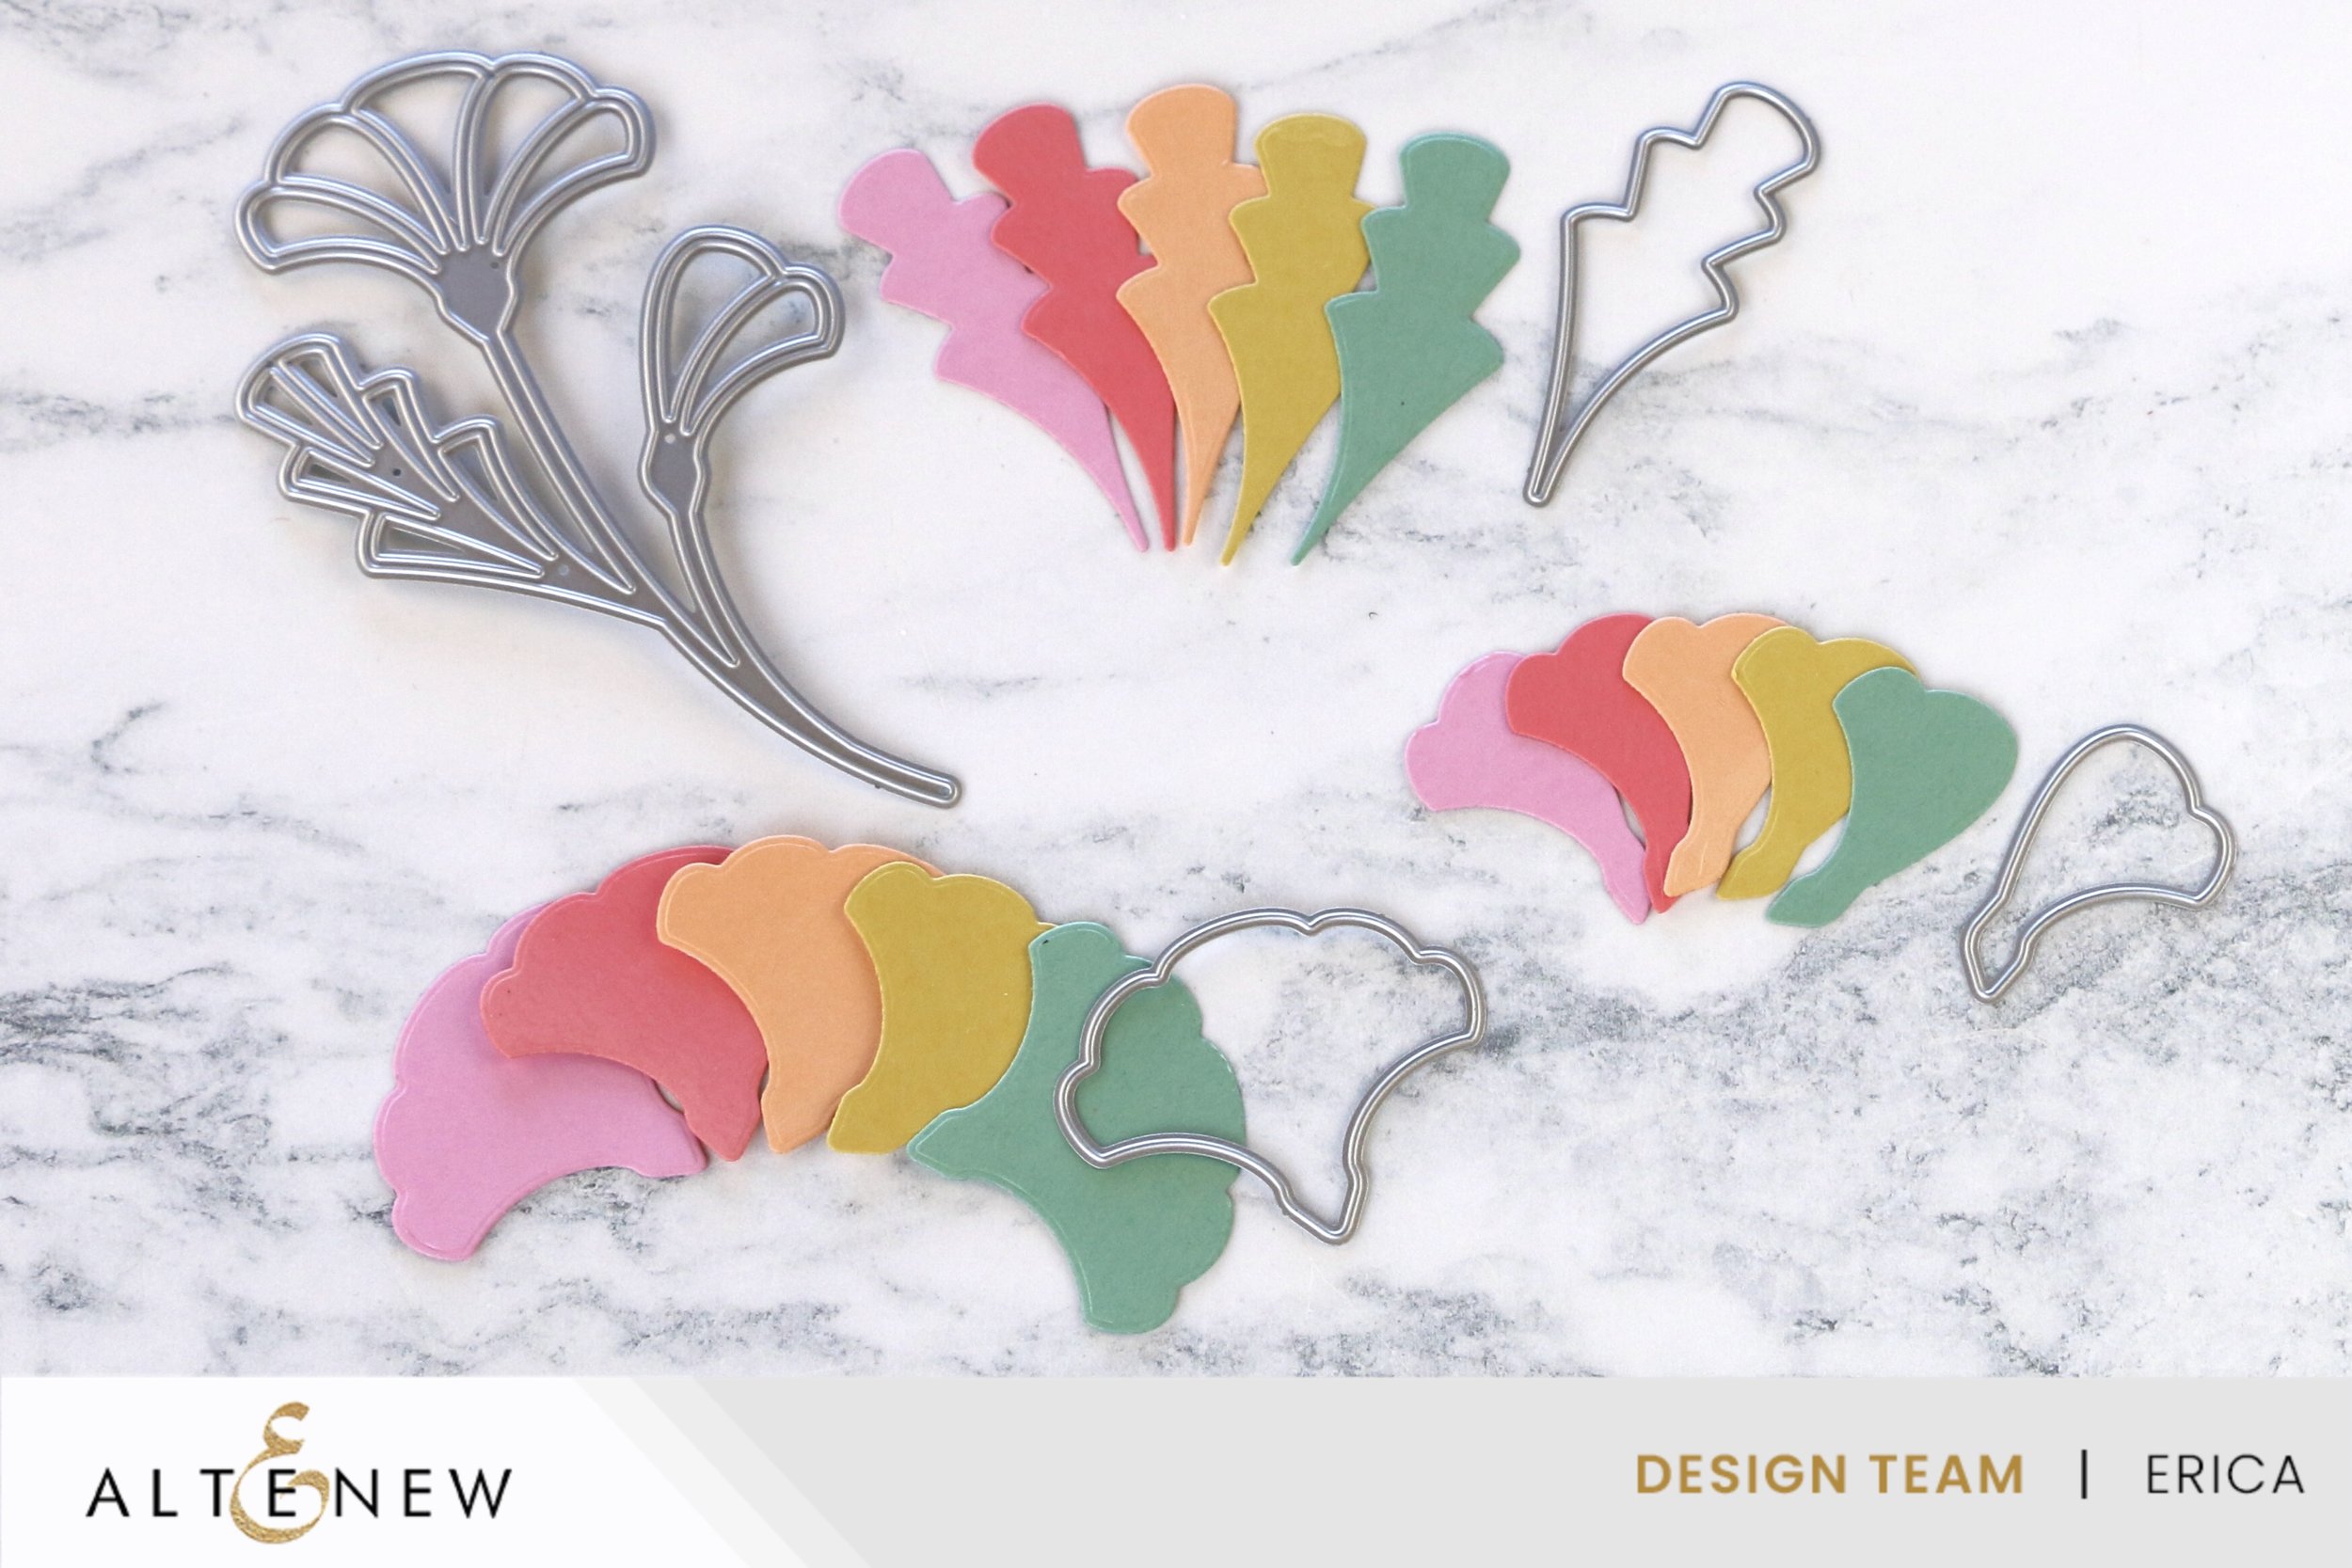
The star of the show is the fabulous Streamlined Sprig Die Set. It has an outline die, and three shadow pieces, and the ways to use this small but mighty set are many. Today we will look at some inlay die cutting, pattern making and, as always with me, a slight twist to the original idea I had. Make sure to watch the YouTube video if you want to find out what I was thinking the first card was going to end up looking like!
As it's early June and summer is on the way, I picked out quite a summery colour scheme for these cards. I picked five colours as the Streamlined Sprig main flower has five petals, and I went ahead and did a small mountain worth of die cutting. I figured it was better to have options when I finally sat down to puzzle the pieces together. I ended up die cutting every single piece in the set at least once, so I had a full outline, all three shadow pieces plus the pieces from the outline part.
I also decided to cut out some extra white sprigs, and one in black. Here is where one of my first ideas came to life. The die cutting diva in me wants to get as much as I can out of every single piece of card stock and I managed to get two Streamlined Sprigs out of one A2 sized panel, and immediately I decided to keep this one and use if for one of the cards!
On a card base I added 2 inch wide double sided tape and then I adhered the panel I had done the die cutting out of directly to it. The two Streamlined Sprigs die cut pieces I puzzled into the spaces, and with those in place I started playing with the coloured pieces. I did end up having to do even more die cutting as I was short a few pieces for the 'puzzle' but that's ok and was worth it for the finished look.

Speaking of the finished look, I decided that when all the pieces were inlaid and glued down that it was a bit bland looking with the white outline. This is where the twist comes in. I thought I was going to use the black outline diecut on another card but I tried placing it over the white on the card, and lo and behold, the colours popped so much more! Naturally I had to do more die cutting... as you do, so I had a second black outline piece. These two I glued down on top of the white ones and with a pre-made sentiment, also entirely made up from die cutting, the first card was done.
The sentiments I have used on both cards are mirror images of each other colour wise, one has a black shadow piece and white letters, and the other one white shadow piece and black letters. They both say the same thing 'Have a good day' and are made with the absolutely brilliant Timeless Sentiments 2 Die Set. I must add the first one, Timeless Sentiments Die Set to my stash as well, for sure. A good die cutting sentiment set, or two, are absolute must-haves for me.

On the second card I have used the coloured outlines to create a textured background. The way to do this is to glue them down onto a card base. Here I have used a white one, but I think it would look fabulous on a black one too. Both with coloured card stock and the outline cut out of Brushed Gold Metallic Cardstock, that would look absolutely gorgeous and elegant. When the glue is dry you simply trim off anything that sticks over the card base and you are ready to move on to the next step. It's a great way to make a truly unique background.
The sentiments are adhered to the cards with some Instant Dimension Foam Tape, another absolute must-have in my craft stash. This one is just thick enough to give some nice dimension, but not so high that it makes a card difficult to mail. If you don't have foam tape you can add some height by die cutting more of the shadow piece and stack them up. You only need two or three to really make a difference.

I must admit that the first card, with the black diecut outlines, pops more for me. Adding black to a card can seem a bit daunting but the right amount can really make your design/colours stand out or help them highlight a design element. Another thing that could be a fun thing to try is to add Glossy Accents on top of the coloured card stock pieces. I think that might make it look like stained glass when it's all dry. I am definitely adding that to my ideas-to-try list.
Over on my own YouTube channel, as well as the Altenew Youtube Channel, there are videos for these cards as well, I hope you get a chance to check it out and let me know which one is your favourite. If you try this technique, I'd love to hear it! Especially if you try the black and gold idea I mentioned, I'm very sure that will look spectacular and that will work for so many occasions too.
Well, that's it from me for today, thank you for spending some time with me. I hope this post was inspiring for you and has got your creativity itching to go make something now.
Crafty hugs from Erica